Visit our website: www.jsicoatings.com
Call: (936) 321-3333
Email: steve@jsicoatings.com
Showing posts with label pipe bundle bumpers. Show all posts

Wednesday, May 1, 2024

HDD Bundle Bumpers

 HDD Bundle Bumpers

HDD Bundle

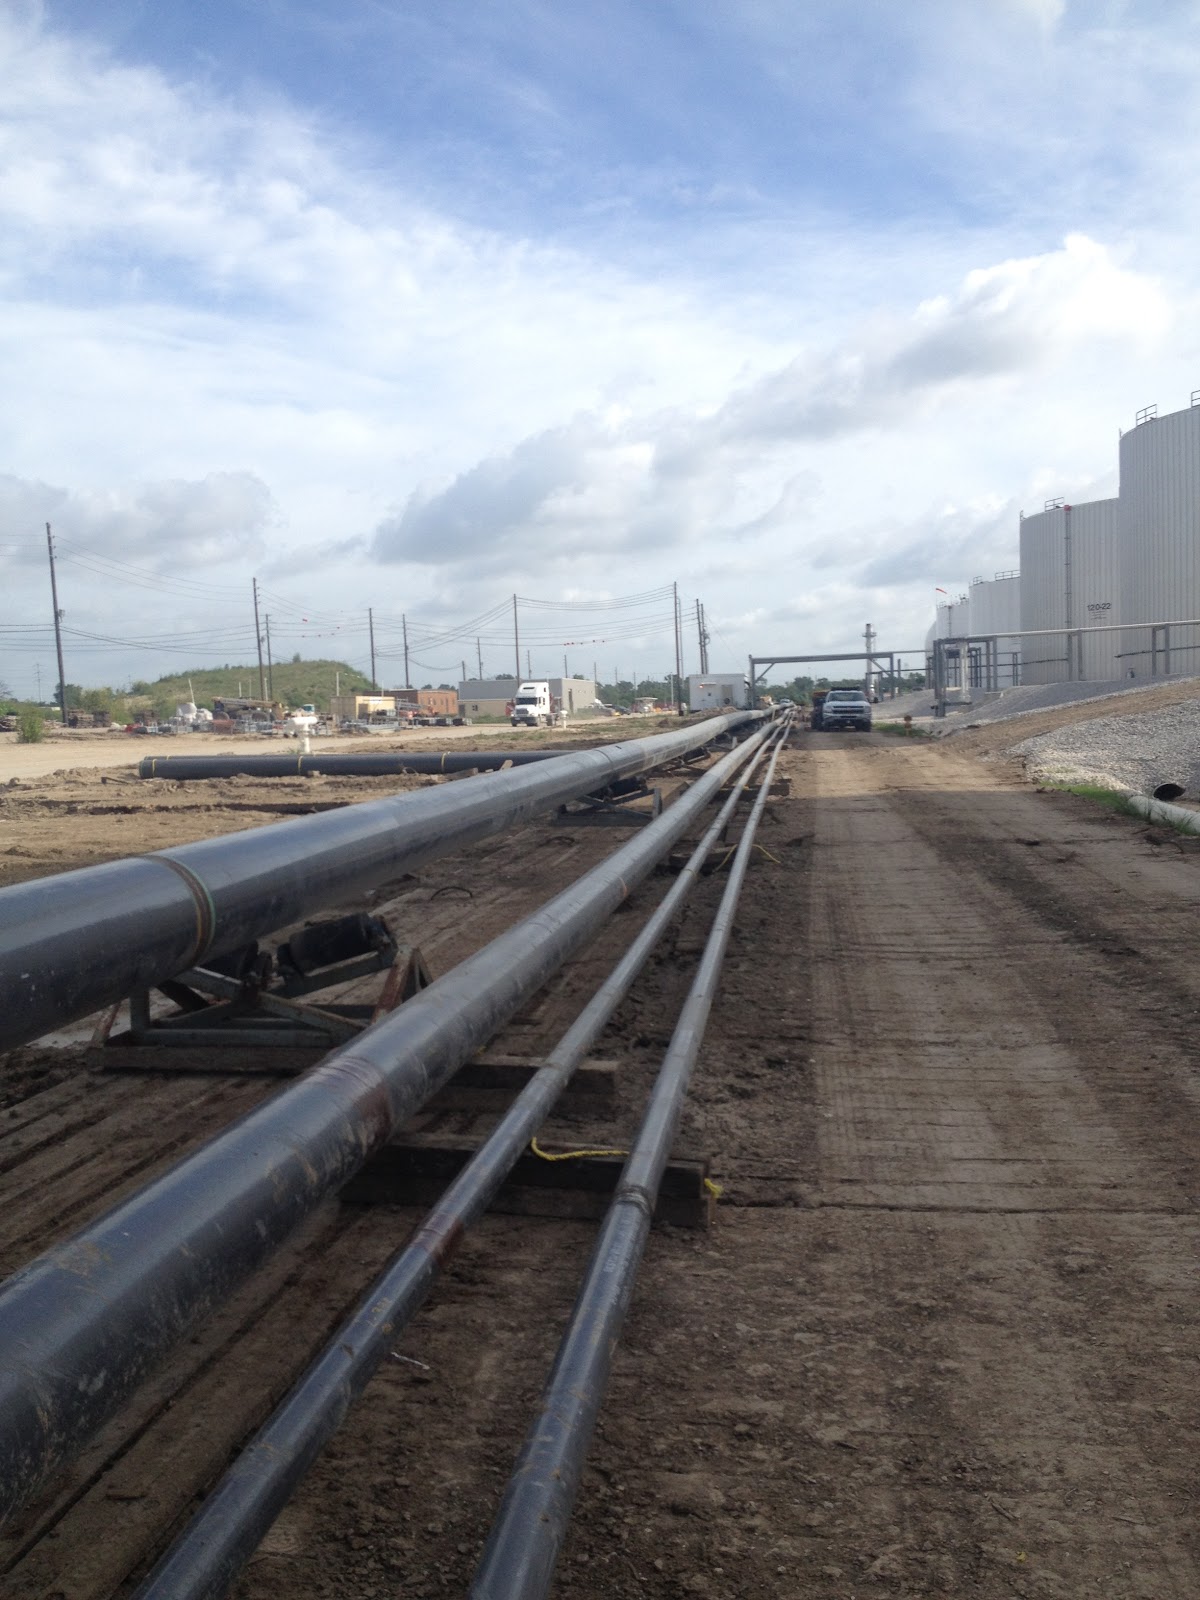
     Another successful project in the books.  Here you see a photo of a training we've just completed.  Contractor was able to string quite a bit of pipe.  They then came through; coated field joints and then applied the bumpers before bundling up the lines and sending them through the hole.  Contractor, end users and inspectors were all very happy with the result.  The section of the bundle that came out of the hole on the other end still had bumpers in place exactly where they had been installed.  None were damaged.  None were lost.  None slid down the pipe.  

    We've now seen our BBS bumpers for pipe bundles installed on everything from 2" pipe to 36" pipe and have yet to hear of a problem or a failure.  It is a great product and we'd love to talk to you about your upcoming projects.  

     In addition, our bumpers have been used on everything from two line bundles; all the way up to an ELEVEN line bundle!  That one was wild to see.  If you're interested you can see one of our early CASE STUDIES by clicking on the link.

Monday, April 4, 2016

BBS Installation Video

Bundled Bore Bumper System Installation Video


     Our BBS system is (and has been) used often to prevent pipe vs pipe damage during a bundled directional drilling pull through.  Installation is fast and easy and the finished product is excellent.  We have also been fortunate to be given the opportunity to collect before and after photos on occasion (BBS Case Study).

Basic installation steps are here:
  1. Clean pipe surface  - being certain all dust, oil, grease, dirt are gone.
  2. Preheat pipe surface to 140F to 160F
  3. Wrap and secure a single bumper piece 2" x 1"
  4. Mix and apply epoxy bonding agent 
  5. Wrap and shrink bumper holder in place (17" wide)
  6. Wrap and shrink 3" wide leader strip in place
  7. Check for proper installation